
Before you start
- Open setup at
/setup. Setup code is validated via API/session storage, so it no longer needs to appear in URL query params. - If you use direct code-entry routing, legacy
/beta/setup/<your-code>is still supported. - Prepare your unit roster and identify ineligible or proxy units.
- Confirm quorum target and election duration.
- Decide your retention period (default 90 days, supports 0 for immediate purge after close).
1. Create election
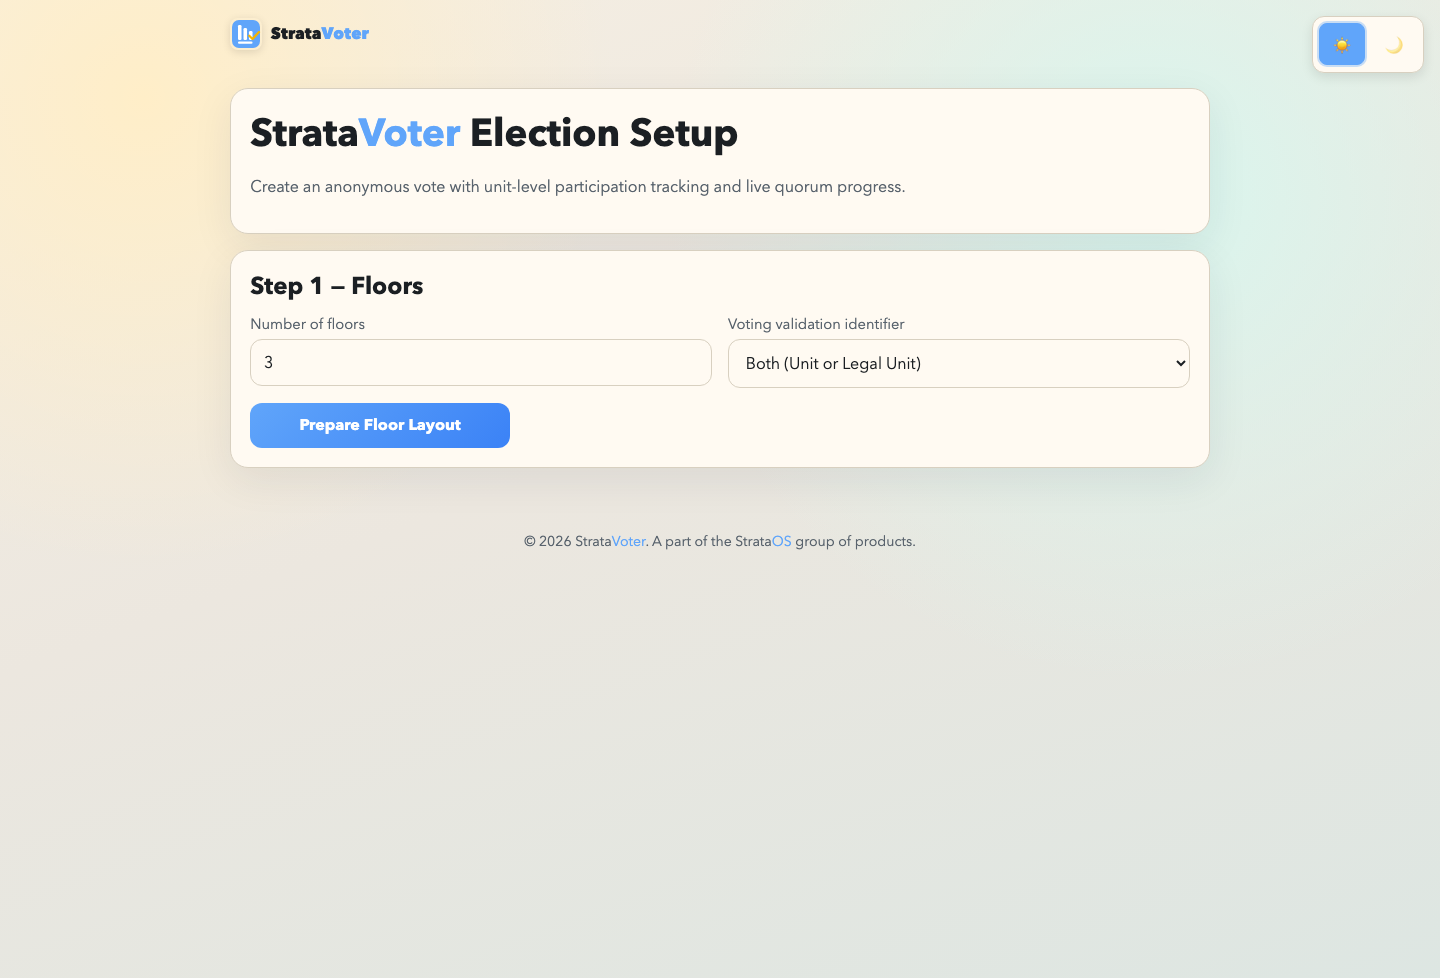
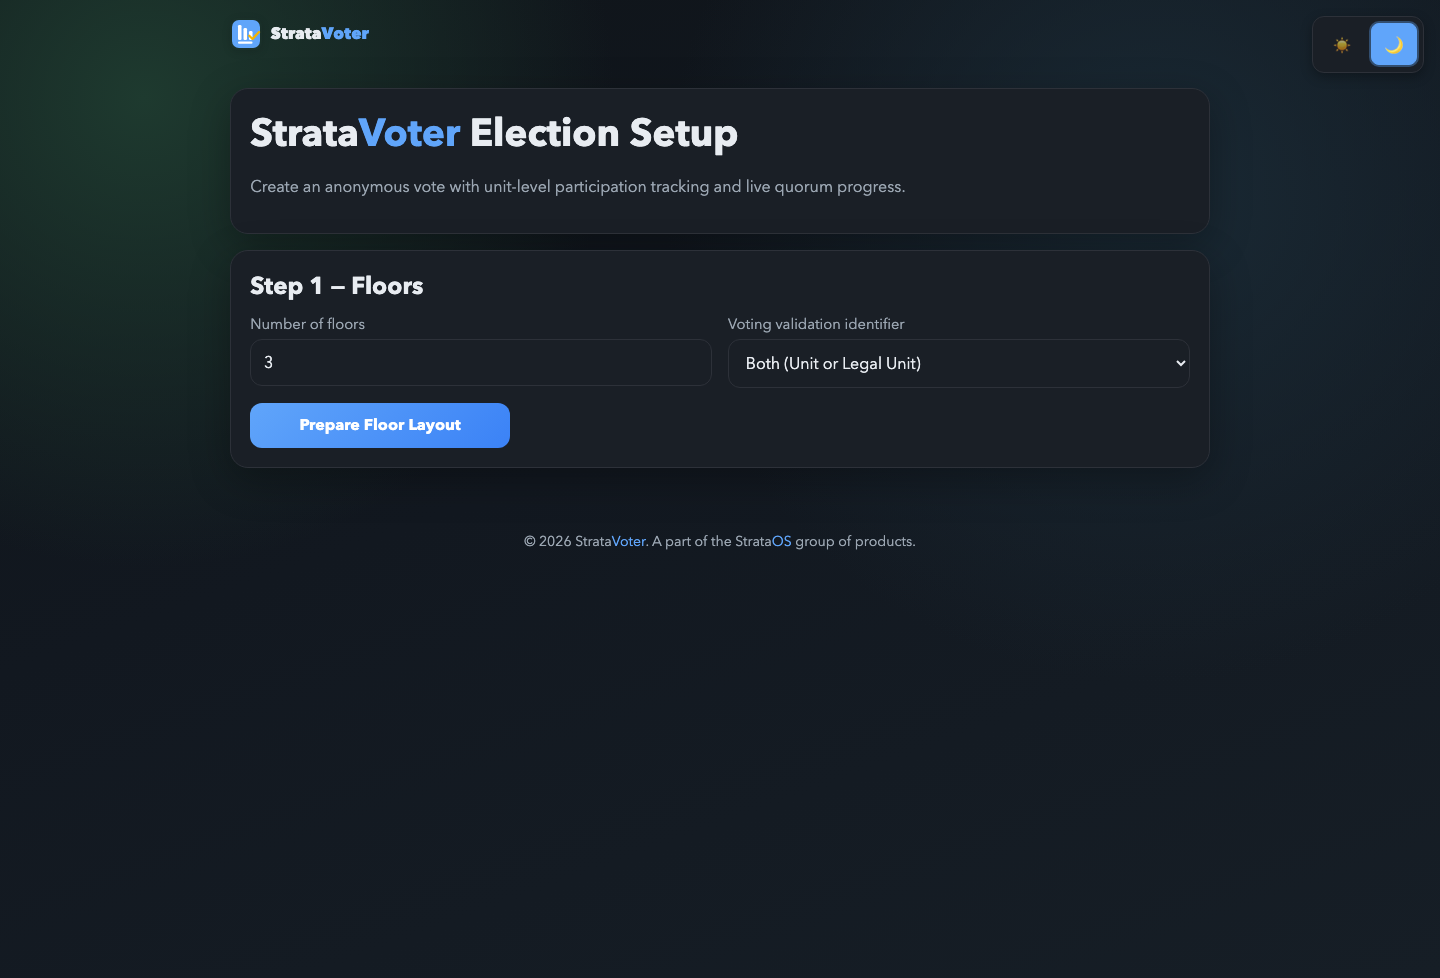
- Set number of floors and validation mode: Unit only, Legal Unit only, or Both. This controls how voters confirm their identity before casting a ballot.
- Configure units per floor and numbering format. Use the pencil icon to manually override individual unit numbers.
- Mark excluded or ineligible units by clicking unit cells, or enable inverse mode to mark eligible units instead. Excluded units receive no voting link.
- Enter vote settings: election name, quorum %, proxy count, voting minutes, retention days, number of seats, question, and candidate list. Minimum 2 answers required; abstain is automatically available.
- For multi-seat elections, set Number of seats to fill to a value greater than 1. Voters must select exactly that many candidates.
- For proxy votes, set Units voted by proxy. Proxy units are eligible voters; their designated proxy receives the link and votes on their behalf.
- Click Create Election & Generate Unit URLs. The button is disabled after creation to prevent duplicate elections.
The setup result panel shows Election name, Status, Created / Started / Closed timestamps, Election ID, Admin Secret, Progress URL, Audit URL, and all unit voting links.
Save your Election ID and Admin Secret — they are shown only once and are required to access audit data or regenerate links.
2. Start election
- Click Start Election in the Election Created panel after creation.
- Status changes from Not started to Open. The Started timestamp is recorded and displayed on the setup card.
- Voting countdown begins and live progress tracking is enabled via SSE.
- The progress page becomes live for participants. If the progress URL was shared before election start, the pre-election overlay (with current stats) is displayed until the election begins.
4. Voter experience
- Unit opens the secure one-time voting link. No account or login required.
- System validates unit identity based on the configured validation mode (Unit number, Legal Unit number, or either).
- For multi-seat elections, the voter selects exactly the required number of candidates. For single-seat elections, one candidate is selected.
- Units may choose to abstain — submitting a valid ballot with no candidate selected.
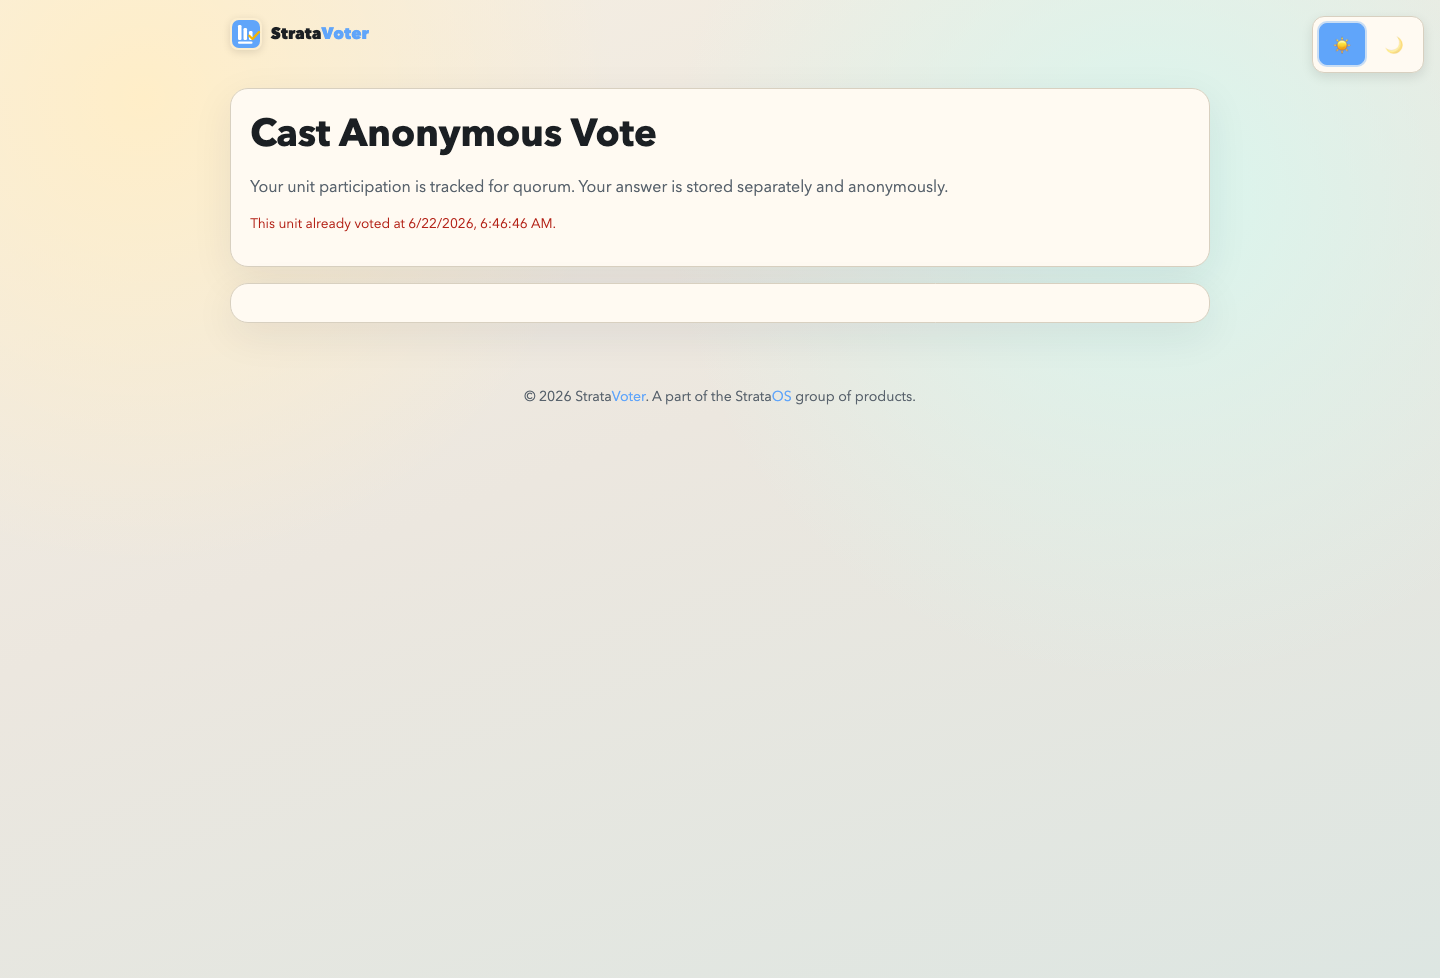
- On submission, participation is recorded for quorum tracking. The ballot choice is stored in a separate, anonymous table with no unit identifier.
- Once cast, the link cannot be used again. If a token has been regenerated, only the newest link is valid.
5. Monitor progress
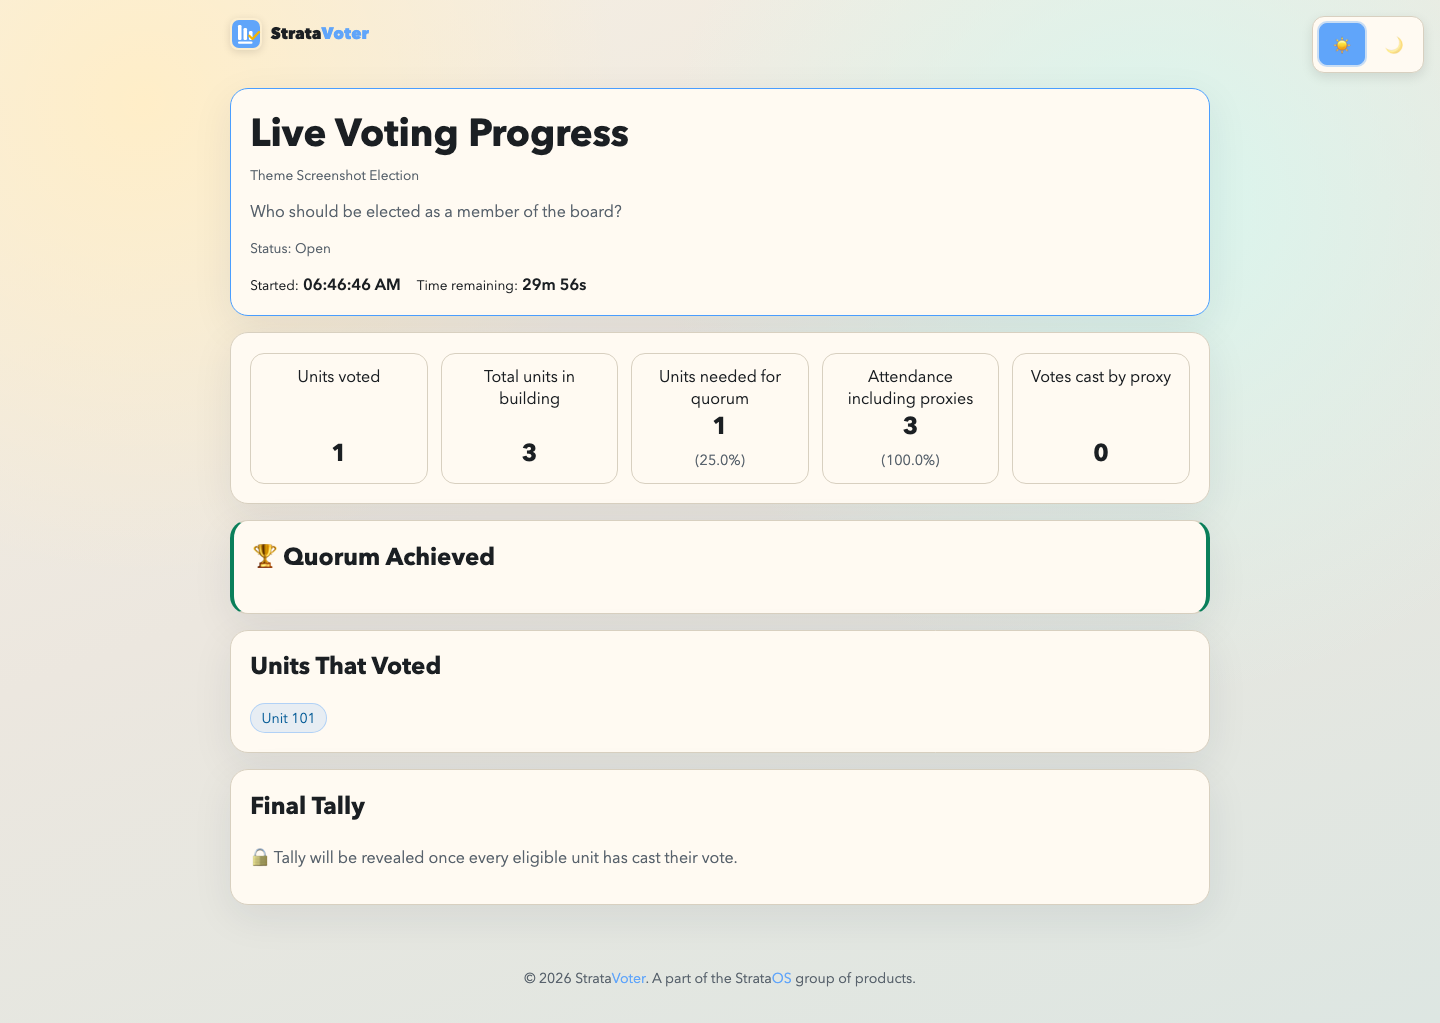
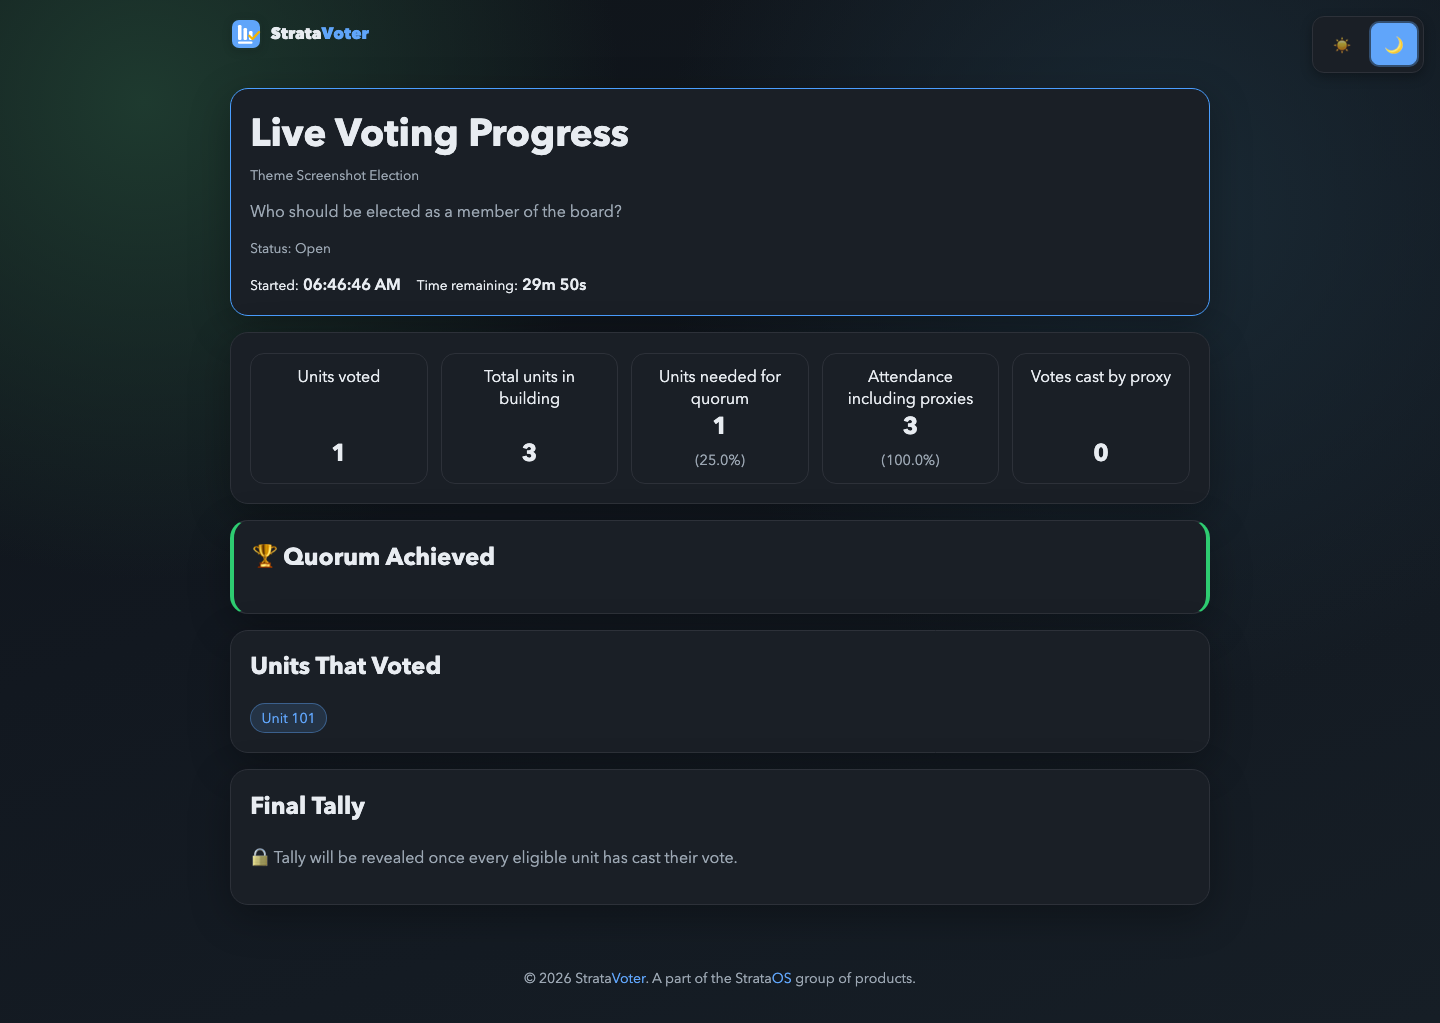
- Open the Progress URL — this page is shareable and read-only, suitable for public display during the AGM.
- Stats shown: Units voted, Total units in building, Units needed for quorum (with % of total), Attendance including proxies, and Votes cast by proxy.
- A Quorum Achieved or No Quorum panel updates automatically as votes come in.
- The not-started overlay is shown before voting begins and includes the full stats panel and quorum status, so boards can review unit totals before opening the vote.
- Updates arrive via Server-Sent Events — the page reflects new votes instantly without polling or refresh.
- Once closed, the final tally and winner(s) are displayed on the progress page. A countdown runs if a close time has been set.
6. Recount and audit
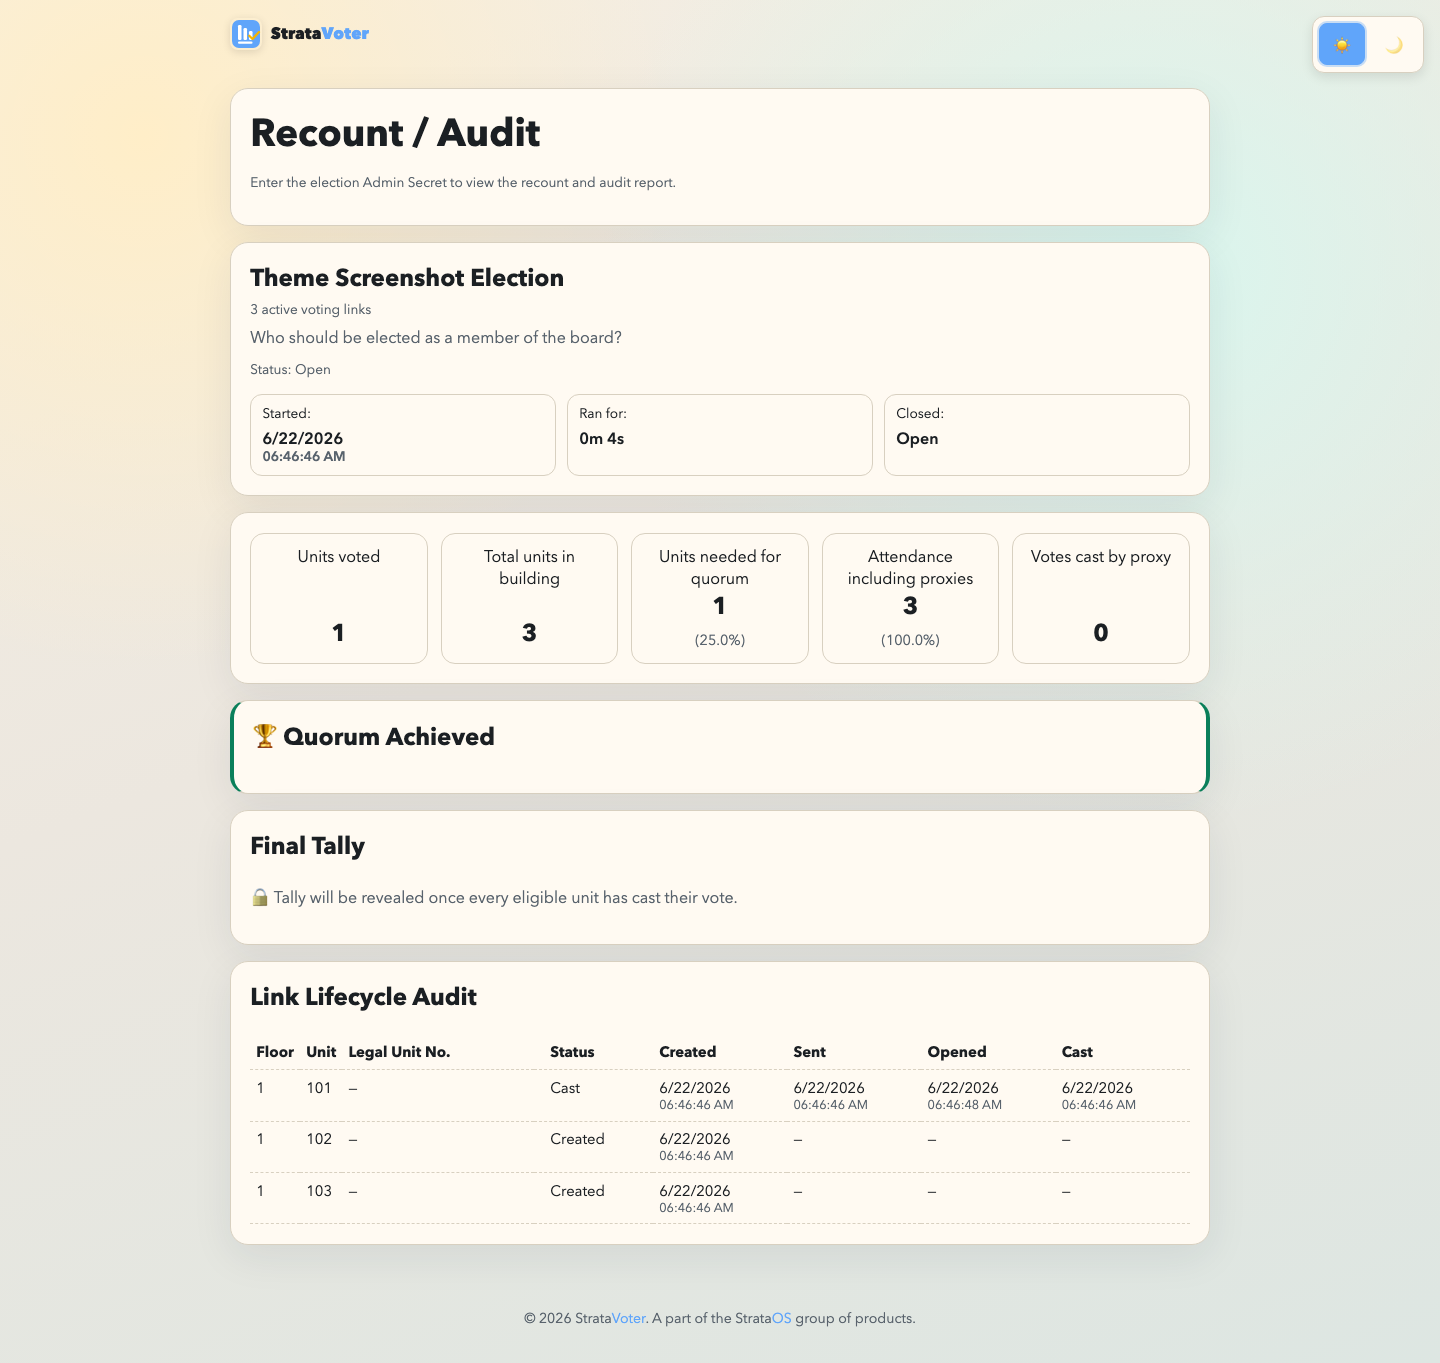
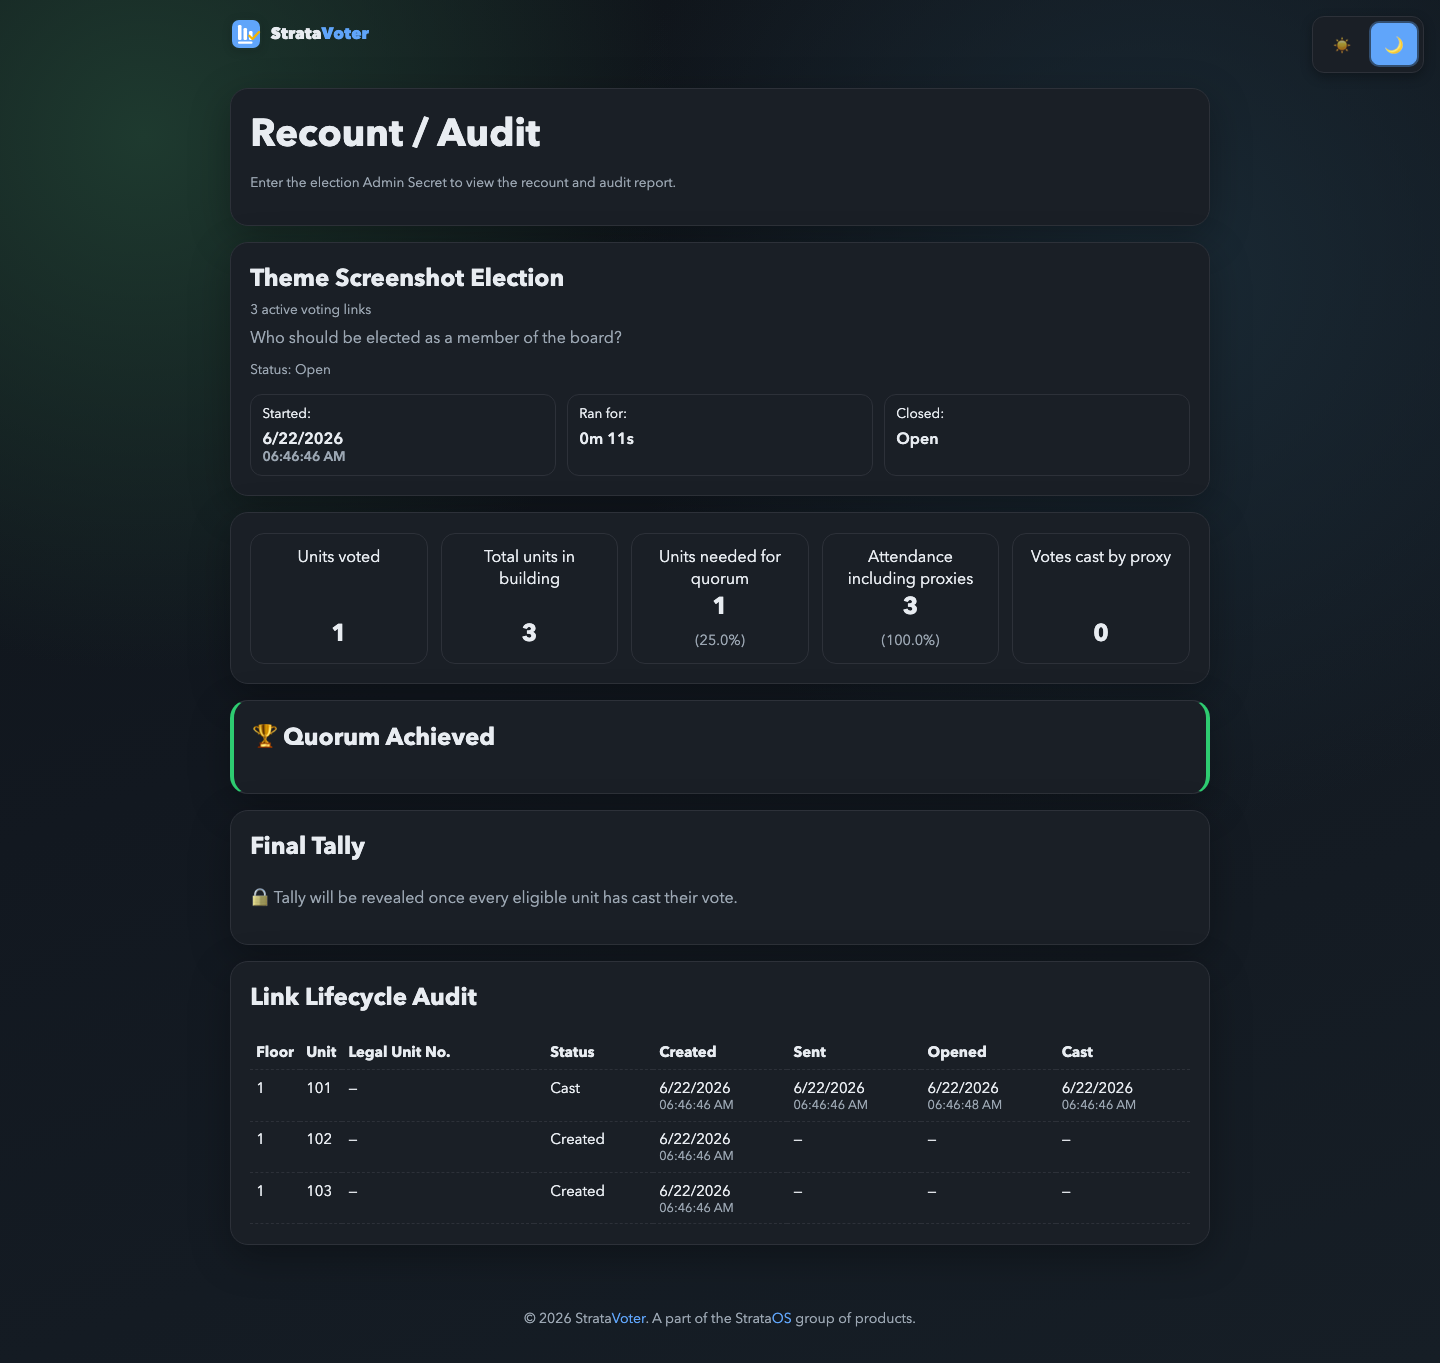
- Open the Recount / Audit URL (shown in the Election Created panel on setup).
- Enter Admin Secret to unlock audit data.
- Review the full link lifecycle table: each unit row shows Created, Sent, Opened, and Cast timestamps.
- Review the final tally with per-candidate vote counts and winner(s). For multi-seat elections, all elected candidates are listed. Ties are flagged explicitly.
- The tally lock indicator shows that results are immutably sealed at closure — no post-close modification is possible.
- Use the reproducibility export to download cryptographic ballot artifacts for independent verification.
7. Close election and retention handling
- Election closes automatically when: (a) the voting duration expires, (b) all eligible units have voted, or (c) an admin clicks Stop Election.
- Closure is detected in real time by the setup page via SSE — no refresh needed. The Closed timestamp is recorded and displayed on the setup card.
- After closure, all setup form controls and grid interactions are locked to prevent inadvertent changes.
- Configured retention begins after closure. Default is 90 days, aligning with Ontario Condominium Act requirements.
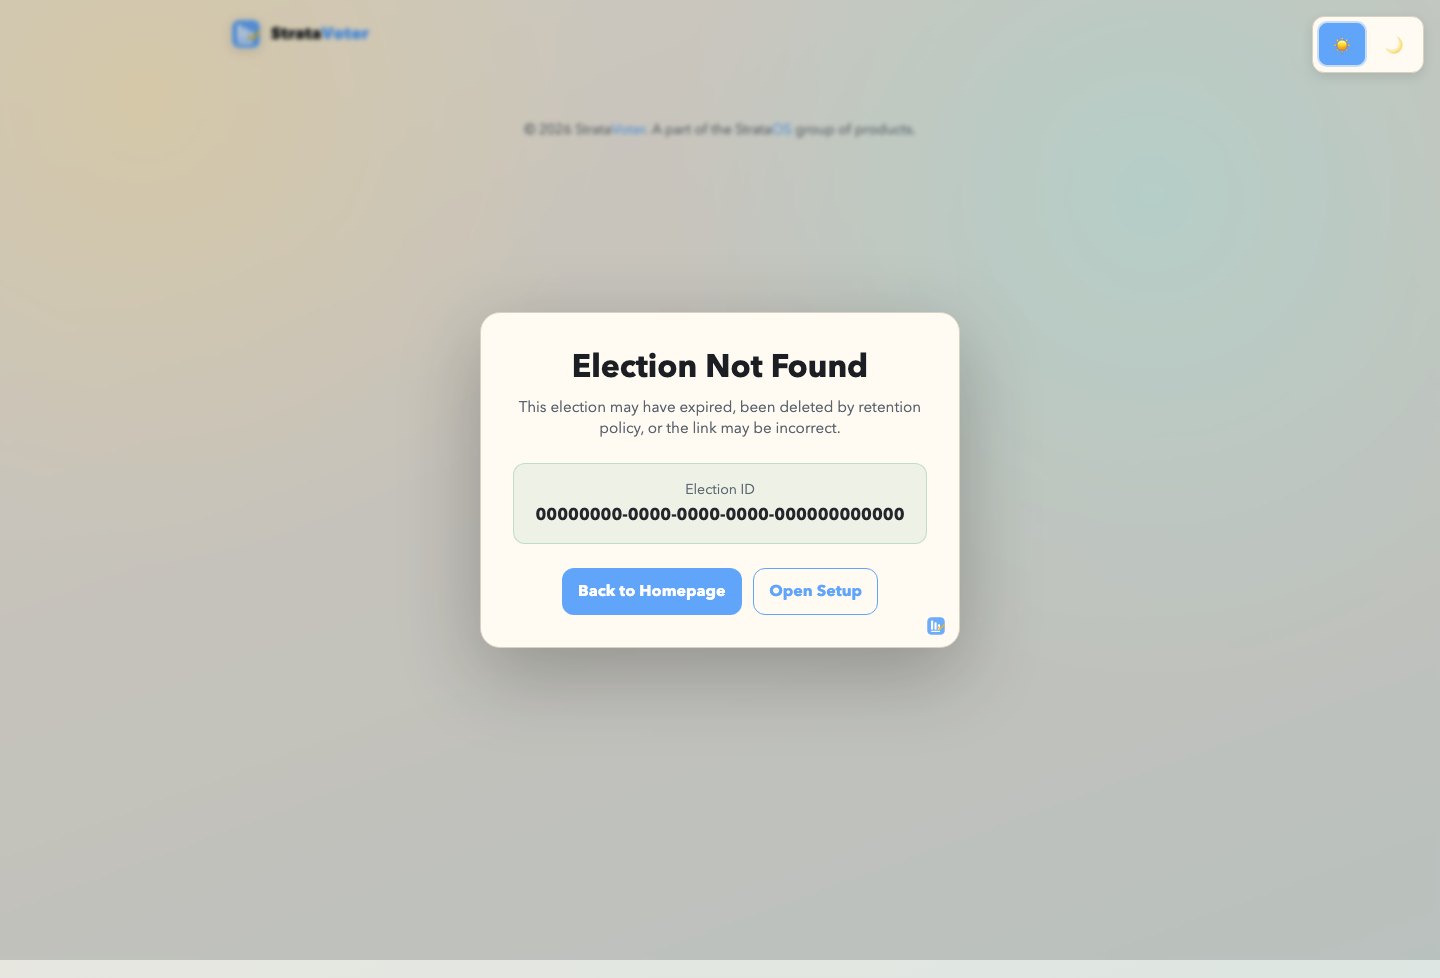
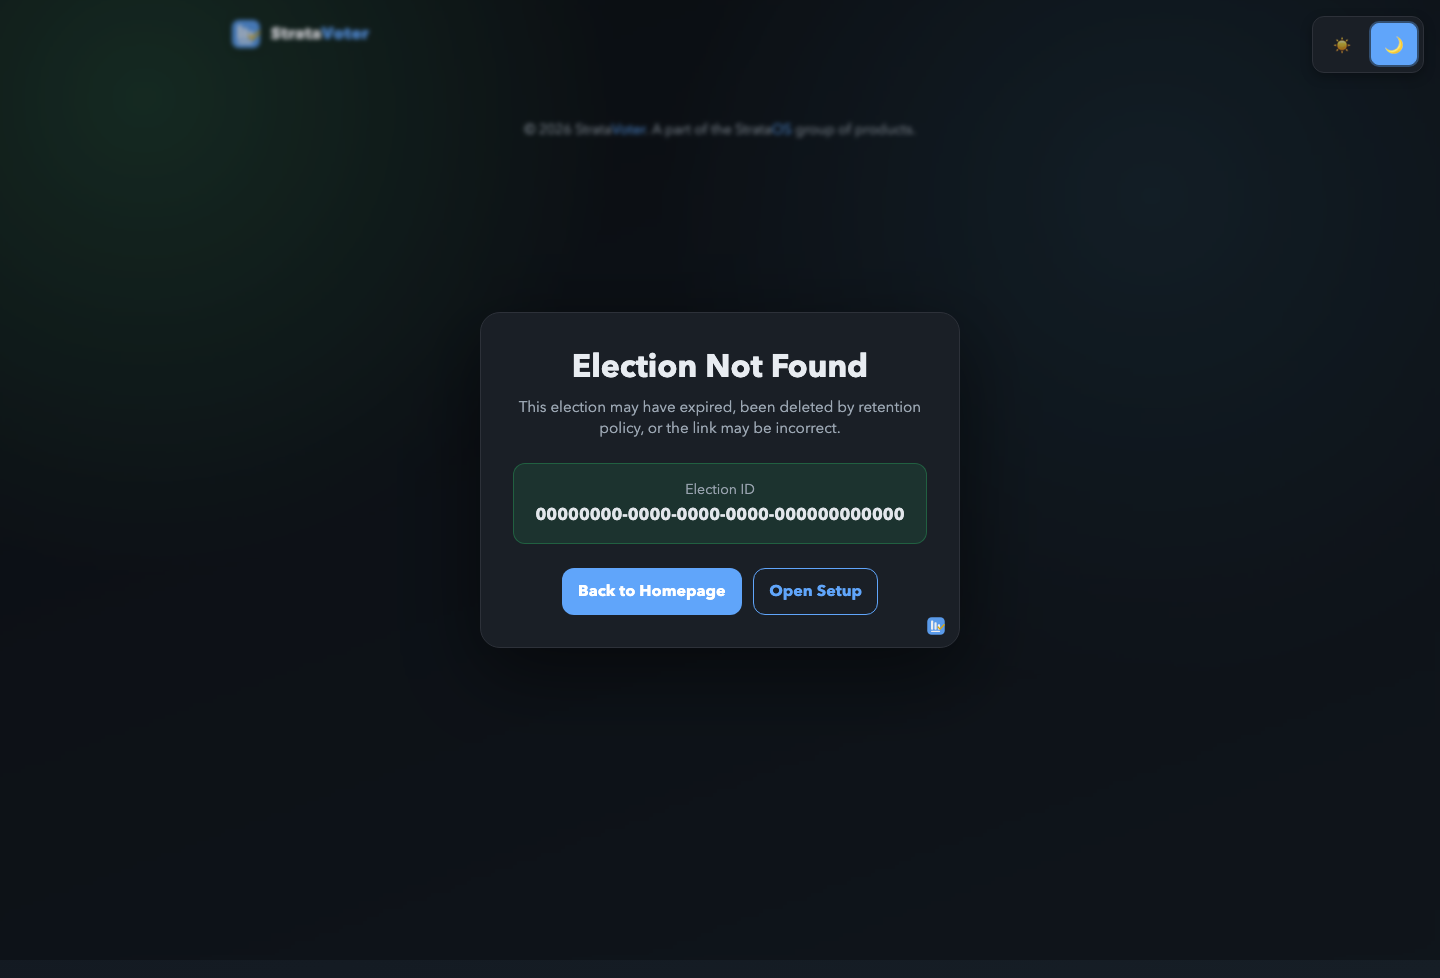
- At retention expiry, election records are purged; the progress, audit, and vote routes show an Election Not Found overlay.
For testing retention behavior, set retention days to 0 to purge immediately after close.
8. Scrutineer-ready AGM minutes text
The scrutineers confirmed that the voting system recorded which units cast a ballot for quorum and eligibility purposes. No information identifying how any unit voted was available or accessible.
The scrutineers verified that the list of units that voted matched the corporation eligibility list, each unit voted only once, and no duplicate or invalid ballots were counted.
All ballots were anonymous, and voter identity remained separate from ballot contents.
Troubleshooting
- Election not found: Election may have been purged by the retention policy, the ID may be invalid, or the URL may be stale. Check the retention period set at creation.
- Cannot open audit data: Confirm you are using the correct Admin Secret for that specific election — secrets are unique per election.
- Status not updating on setup page: If the SSE stream is disconnected (network interruption), refresh the setup page. SSE reconnects automatically but a hard refresh resets state.
- Link shows Created but not Sent: Use Mark Sent after distributing. The Sent state is only set manually or when the email button is used.
- Multi-seat ballot rejected: Confirm the voter selected exactly the required number of candidates. Selecting more or fewer will be rejected.
- Regenerated link shows old token as valid: Regeneration invalidates the old token immediately. If the voter has the page open on the old link, they will receive a rejection message on submission.
- Immediate purge checks: Set retention days to
0and verify progress and audit routes return the Election Not Found overlay after close.